Frida Introduction (Part I)
- Published on
Post Date
- Authors

- Name
- Juan Urbano Stordeur
- X
- @juanurss

TL;DR: We are going to introduce Frida (an amazing Binary instrumentation tool) and some ways to use this tool to help us perform Mobile Penetration Testing. But again, this is the first post and it is introductory. Stay tuned for our following publications!
What is Frida?
If you’ve never heard about Frida, this is your opportunity to learn about a very good tool developed by oleavr to perform dynamic instrumentation. There exist different tools related to dynamic instrumentation for Android and iOS, such as Cycript, Xposed Framework, GDB/LLDB, and more. But, in our experience, the easiest way to do dynamic instrumentation for Mobile Penetration Testing is using Frida 😀.
Here you can find its official site, and just to comment a little bit on the description of Frida’s functionalities, we can say it is Portable, Scriptable, Multiplatform, and Free!
Installation Process
Computer Installation
Installing Frida is really simple. You need to have Python and pip installed to download the latest version of Frida client to your computer.. Also, you need to install a server if you want to use it on Android or iOS.
$ pip3.X install frida frida-toolsVoila! That’s enough to install it in your SO. As we said, it is Multiplatform ;). Installing the server depends a bit on whether you are running on Android or iOS.
Android Installation:
For Android, there are two ways to do this: one way is with a rooted device (we’ll be discussing this later) and the other one is using a Frida-gadget (In some situations, we won’t be able to install the frida-server on the device (because it’s not rooted or because we just want to inspect one app). This is where Frida-Gadget joins the game. It’s a build of Frida as a shared library that opens a TCP socket listening for connections when it’s loaded.
Then, you need to download the frida-server for your Android Architecture (you may have a physical device or emulator) and upload it to /data/local/tmp with adb. After that, you should set execution permissions and run it inside the physical device or emulator.
If you don’t know in which architecture you are running (physical device or emulator), don’t worry, you can run the following command:
Step 0: Checking the correct architecture.
adb shell getprop ro.product.cpu.abi
arm64-v8a -> My Pixel 7 pro architecture
Step 1: (look for the frida-server here, download it, and push it to the device).
adb push frida-server /data/local/tmp/Step 2: Change the permission of the frida-server file.
adb shell "chmod 755 /data/local/tmp/frida-server"
adb shell "/data/local/tmp/frida-server &"
iOS Installation:
For iOS, there are, again, two ways. If you don’t have a device, in my experience, the best way is to use Corelium. It is an amazing software; still, I’ve always preferred to have a physical device. In this case, you have to pay for Corellium and, if you have or you buy a new iPhone, you’ll be able to use it all the time. If you need to have multiple devices for various uses, the equation changes.
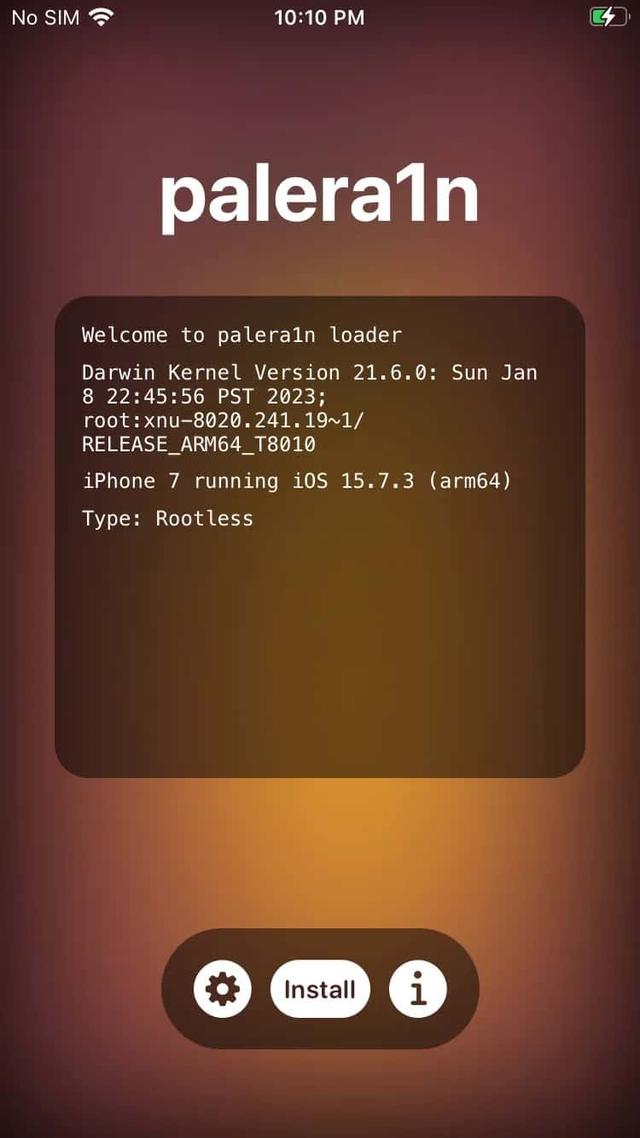
Depending on which version of iOS you have running, you can use checkara1n (Jailbreak for iPhone 5s through iPhone X, iOS 12.0 and up installing Cydia) or palera1n (palera1n is a developer-oriented jailbreak for checkm8 devices (A8-A11) on iOS 15.0–16.4, installing Sileo).
As I have just mentioned, with a device. You should jailbreak it (again, there is a way using a frida-gadget, but I am not going to expand on that), configure the within Cydia or Sileo and download the Frida server (here is the official link).
Sileo Jailbreak:


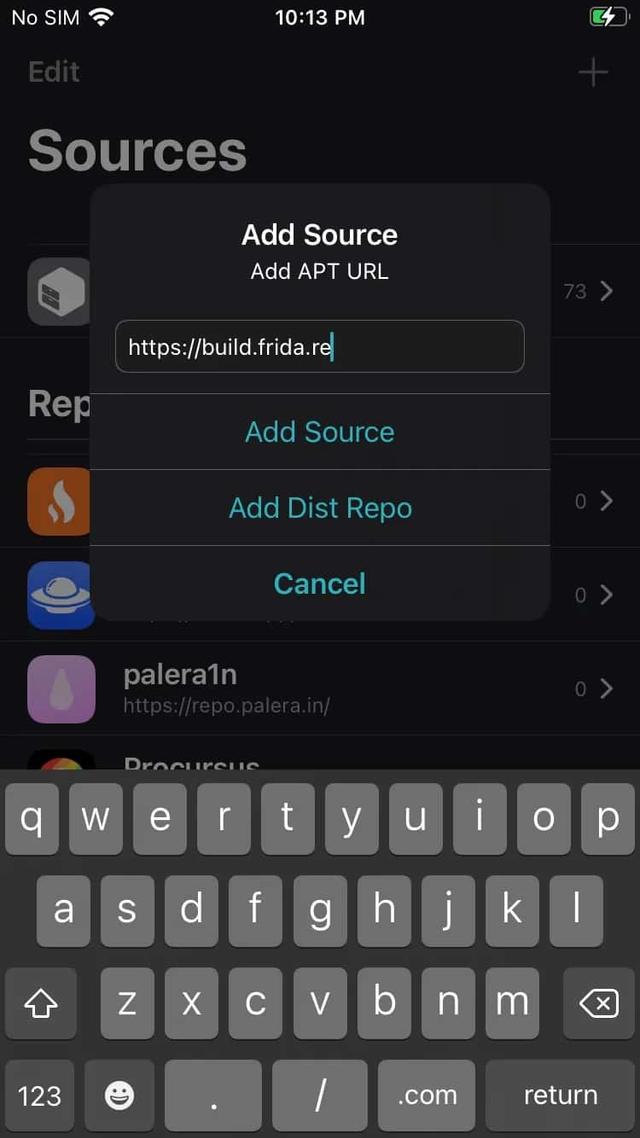
Once you have the Jailbreak working, you need to add the sources within Cydia or Sileo:
Cydia and Sileo configuration:
- Start Cydia and add Frida’s repository by going to Manage -> Sources -> Edit -> Add and enter https://build.frida.re. You should now be able to find and install the Frida from Sileo search button.
- After that, if for some reason the Jailbreak didn’t have the OpenSSH tool, you’ll need to install it to access the device. In the following post, we will talk about Jailbreaks and the next steps after having a jailbreak.
I also recommend the iproxy tool to configure a local tunnel over ssh (we’ll use this later) and ibimobiledevice for general purposes (brew install libimobiledevice).

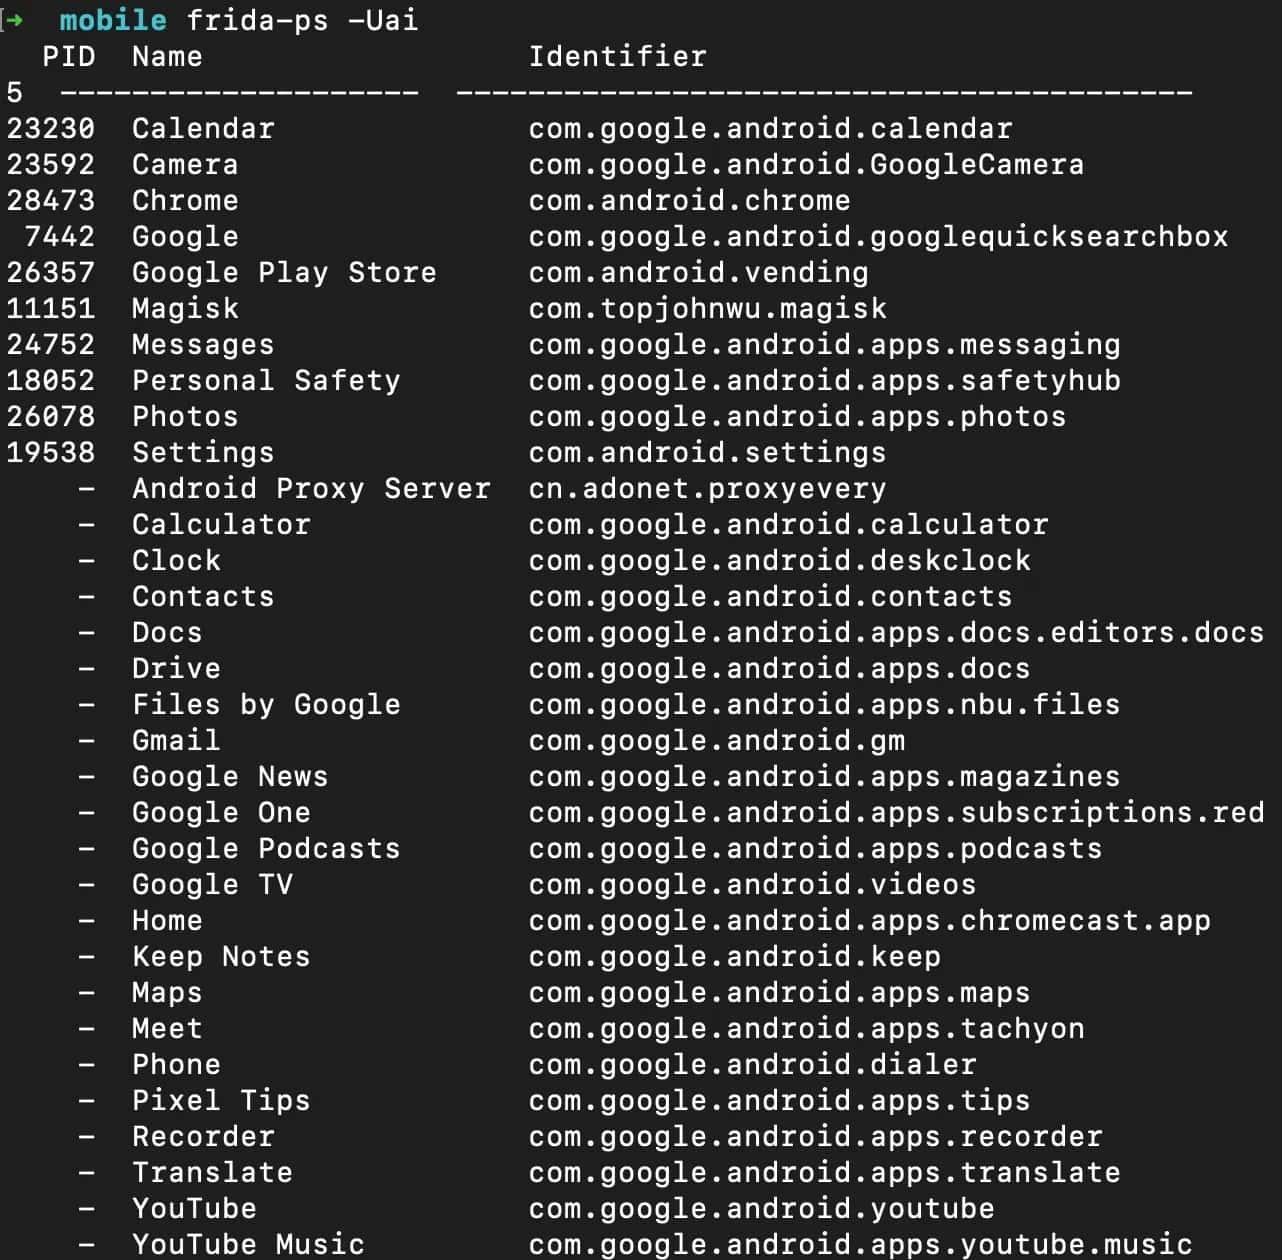
After that, if everything is working properly, you should be able to use the frida-ps -Uai command (U: USB, a: application, i: installed).

Running process
Frida has an option called Early Instrumentation. This option allows users to observe and manipulate an app from its first instruction, which gives the opportunity to modify anything executable in the application before its code gets executed.
Just think of the amazing things you can do with this option! For example, if the application has some anti-reverse engineering protection (anti-emulation, root check, jailbroken implementation, certificate pinning, etc.), you can create a bypass and execute it before validating the application.
The incredible thing is that you can use several scripts from codeshare (in our next blog, we will discuss how to create a script to bypass or modify some behavior and how to upload (it) to codeshare).
This interesting place called codeshare works with any script uploaded there, you only need to use
frida --codeshare name -U <application name>and you can use it directly from there.
A classical script from SSL Pinning bypass implemented by pcipolloni:
frida -c @pcipolloni/universal-android-ssl-pinning-bypass-with-frida/ -p 23230Or a classical iOS info script implemented by dki:
$ frida --codeshare dki/ios-app-info -f YOUR_BINARYAnd voilà!Enough for now.We will continue talking about Frida and how to implement or bypass a protection using it in the next post!
Thanks for reading!
Stay tuned to the following posts and don’t forget to follow us!