How to Improve Your Android & iOS Static Analysis with Nuclei!
- Published on
Post Date
- Authors

- Name
- Juan Urbano Stordeur
- X
- @juanurss
- Authors

- Name
- Juan Martinez Blanco
- X
- @juan-martinez-blanco

TL;DR: In this post, we will cover how to statically analyze Android and iOS applications using Nuclei. We'll start:
- Downloading and obtaining the APK/IPA files from the device.
- How to properly decompile them, and how to create Nuclei templates to find common vulnerabilities like hardcoded Google API keys within the source code, etc.
- Finally, we'll demonstrate executing these templates to obtain results.
TL;R2: For this practical guide we will use two applications developed by the Just Mobile Security team, one for iOS and one for Android. Additionally, we will show how to use additional templates available out of the box with the Nuclei repository.
What is Nuclei?
Nuclei is a vulnerability scanner based on templates that lead to zero false positives and provide fast scanning. If you want to analyze Android or iOS applications, Nuclei is a great tool to easily find security vulnerabilities by using predefined or custom YAML/JSON templates.
These templates can target specific vulnerabilities related to mobile applications, such as hardcoded sensitive information, misconfigurations, and more. Nuclei has high-performance scanning capabilities and a library of templates developed and maintained by its community.
Nuclei is the perfect tool for automating security checks in mobile applications and testing that applications are analyzed to find common vulnerabilities efficiently.
Android Prerequisites
iOS Prerequisites
- iOS device with jailbreak (you can check our post performing a Jailbreak with Palera1n in six steps!)
- Frida & Frida-Tools (you can check our latest post talking about Frida)
- Download the latest frida-ios-dump
- Download the latest version of iProxy: iProxy will allow you to SSH over USB.
- IPATool for installing massive apps and Nuclei installed
Installing Nuclei
Nuclei requires at least go1.21 to install successfully. Run the following command to install the latest version
Installing GO
- Remove any previous Go installation by deleting the
/usr/local/gofolder (if it exists), then extract the archive you just downloaded into/usr/local, creating a fresh Go tree in/usr/local/go:
rm -rf /usr/local/go && tar -C /usr/local -xzf go1.22.1.linux-amd64.tar.gz(You may need to run the command as root or through sudo).
Do not untar the archive into an existing /usr/local/go tree. This is known to produce broken Go installations.
- Add
/usr/local/go/binto the PATH environment variable. You can do this by adding the following line to your$HOME/.profileor/etc/profile(for a system-wide installation):
export PATH=$PATH:/usr/local/go/binNote: Changes made to a profile file may not apply until the next time you log into your computer. To apply the changes immediately, just run the shell commands directly or execute them from the profile using a command such as source $HOME/.profile.
- Verify that you've installed Go by opening a command prompt and typing the following command:
go versionConfirm that the command prints the installed version of Go.

Installing Nuclei
- Using Go Install we will install Nuclei
go install -v github.com/projectdiscovery/nuclei/v3/cmd/nuclei@latest
- We add go/bin to the Path.
export PATH=$PATH:/home/{user}/go/bin/- Let's check that the Nuclei tool is correctly installed.
nuclei -h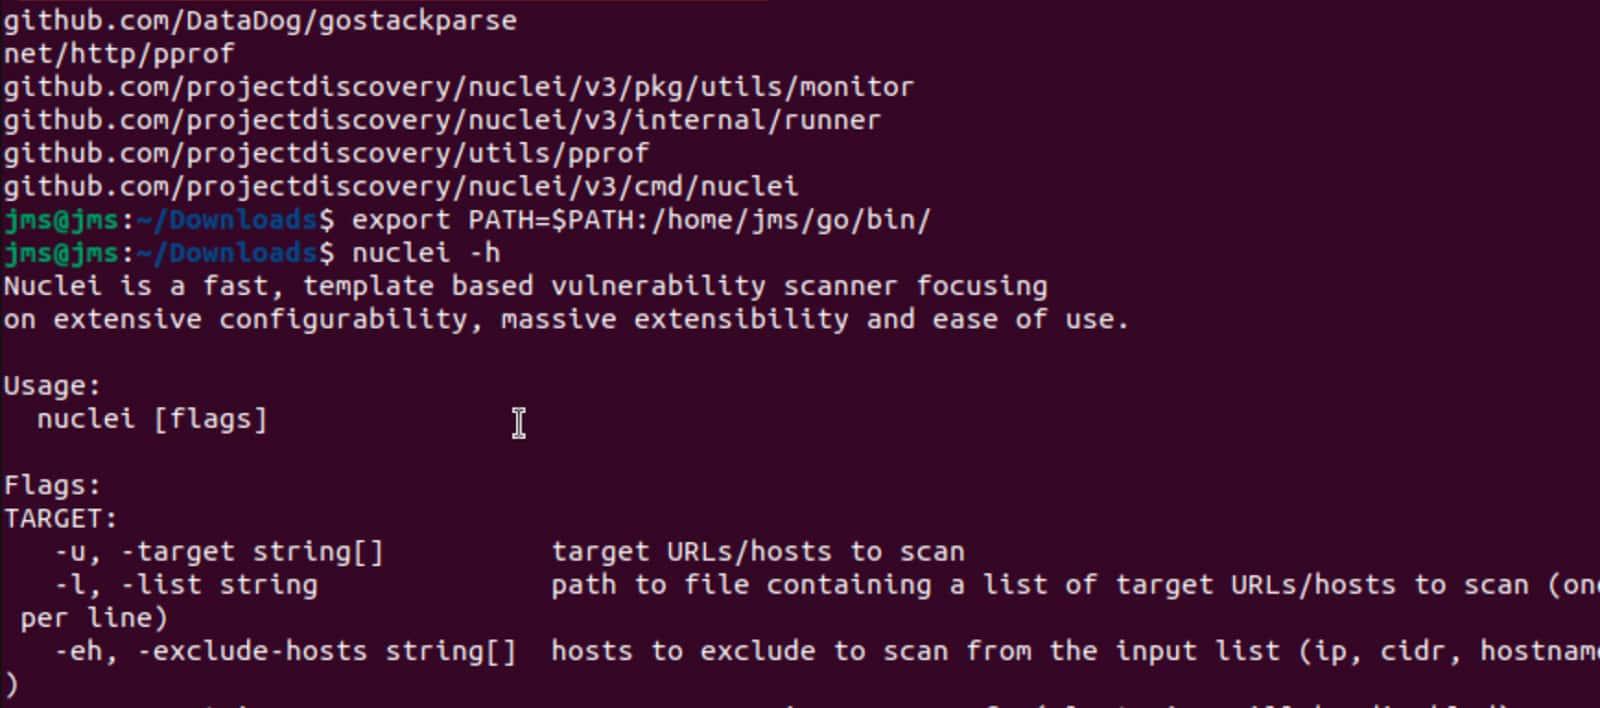
Installing iOS Pre-requisites Linux & MacOS
Step number one is different for Linux and MacOS, but steps number two and three are the same for each platform.
Linux
We are going to install the following dependency to get iproxy working
sudo apt install libusbmuxd-toolsMacOS
We are going to install the following dependency to get iproxy working
brew install libimobiledeviceLinux and MacOS same steps
- We will install Frida (here you can see the post talking about Frida configuration and installation).
pip install frida frida-tools- Let's clone the frida-ios-dump repository and install the requirements
git clone https://github.com/AloneMonkey/frida-ios-dump.gitcd frida-ios-dump/
sudo pip install -r requirements.txt --upgrade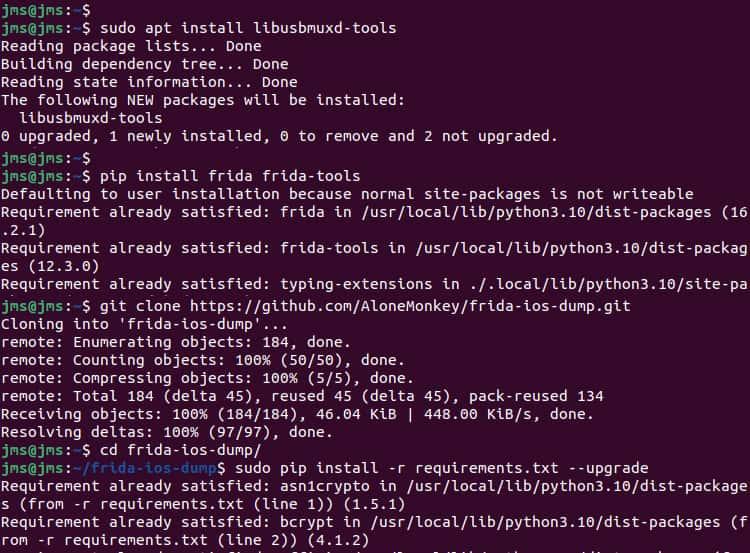
Getting the Applications
This step will be useful if you need to get the application from AppStore or PlayStore before you start to analyze the applications.
Obtaining the APK from the device (Android)
- Install the application you want to analyze from the PlayStore.
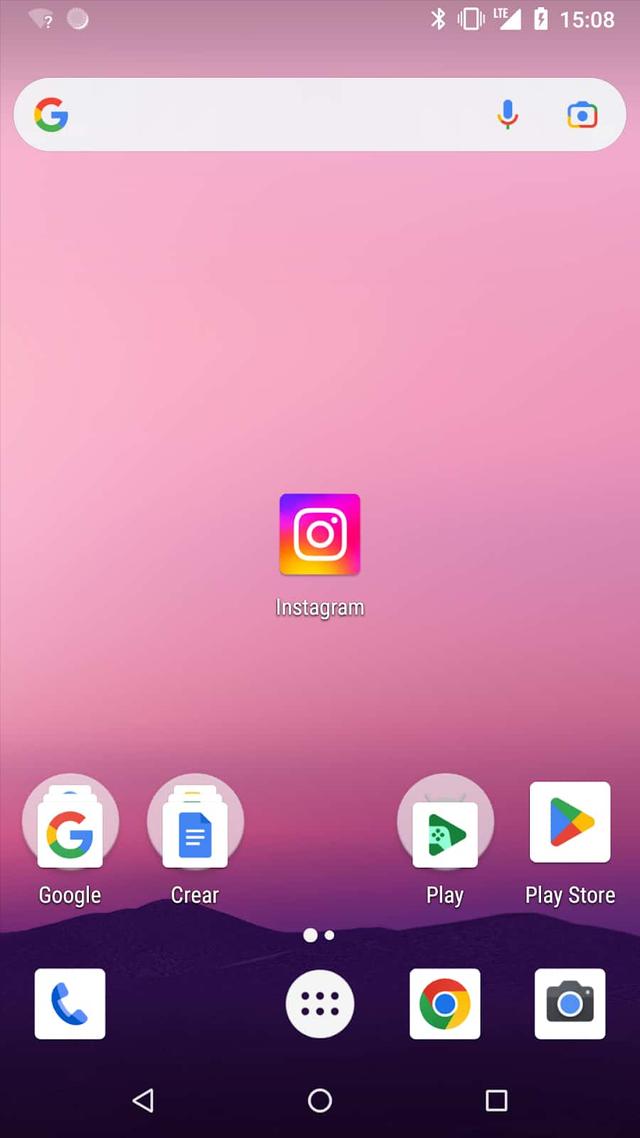
- Using ADB we will execute the following commands to obtain the APK
adb shell pm list packages | grep <app name>adb shell pm path <package name>adb pull <path>/base.apk
Now we have the APK file and we can continue the process to analyze it with Nuclei.
Obtaining the IPA from the device(iOS)
-
Install the application you want to analyze from the AppStore.
-
Connect your jailbroken device to your computer.
-
On your computer, open a terminal window and run iProxy with the following parameters:
iproxy 2222 44- If the application is installed from AppStore, open it and then use the following frida command in another terminal to know the application name.
frida -ps -Uai | grep <app name>- Pull a decrypted IPA from a jailbroken device using frida-ios-dump
python3 dump.py <app name>-
Move the decrypted application to your working folder.
-
To get additional information like the internal folder information, Name, Bundle ID, Version, Data and Binary you can use the following Frida script(check here our post talking about Frida Configuration)
frida -U --codeshare dki/ios-app-info -f <packageName>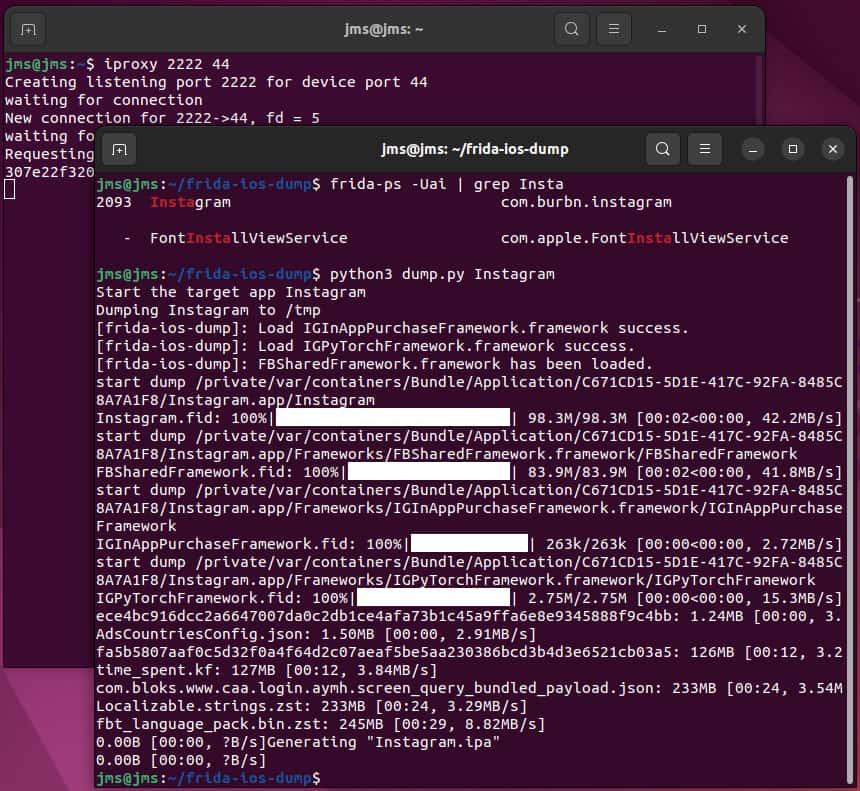
General Information from a Nuclei Template
id: google-api-key

info:
name: Google API key
author: gaurang
severity: low
tags: snippet_vuln

file:
-extensions:
- all

denylist:
- .smali

extractors:
- type: regex
regex:
- 'AIza[0-9A-Za-z\\-_]{35}'
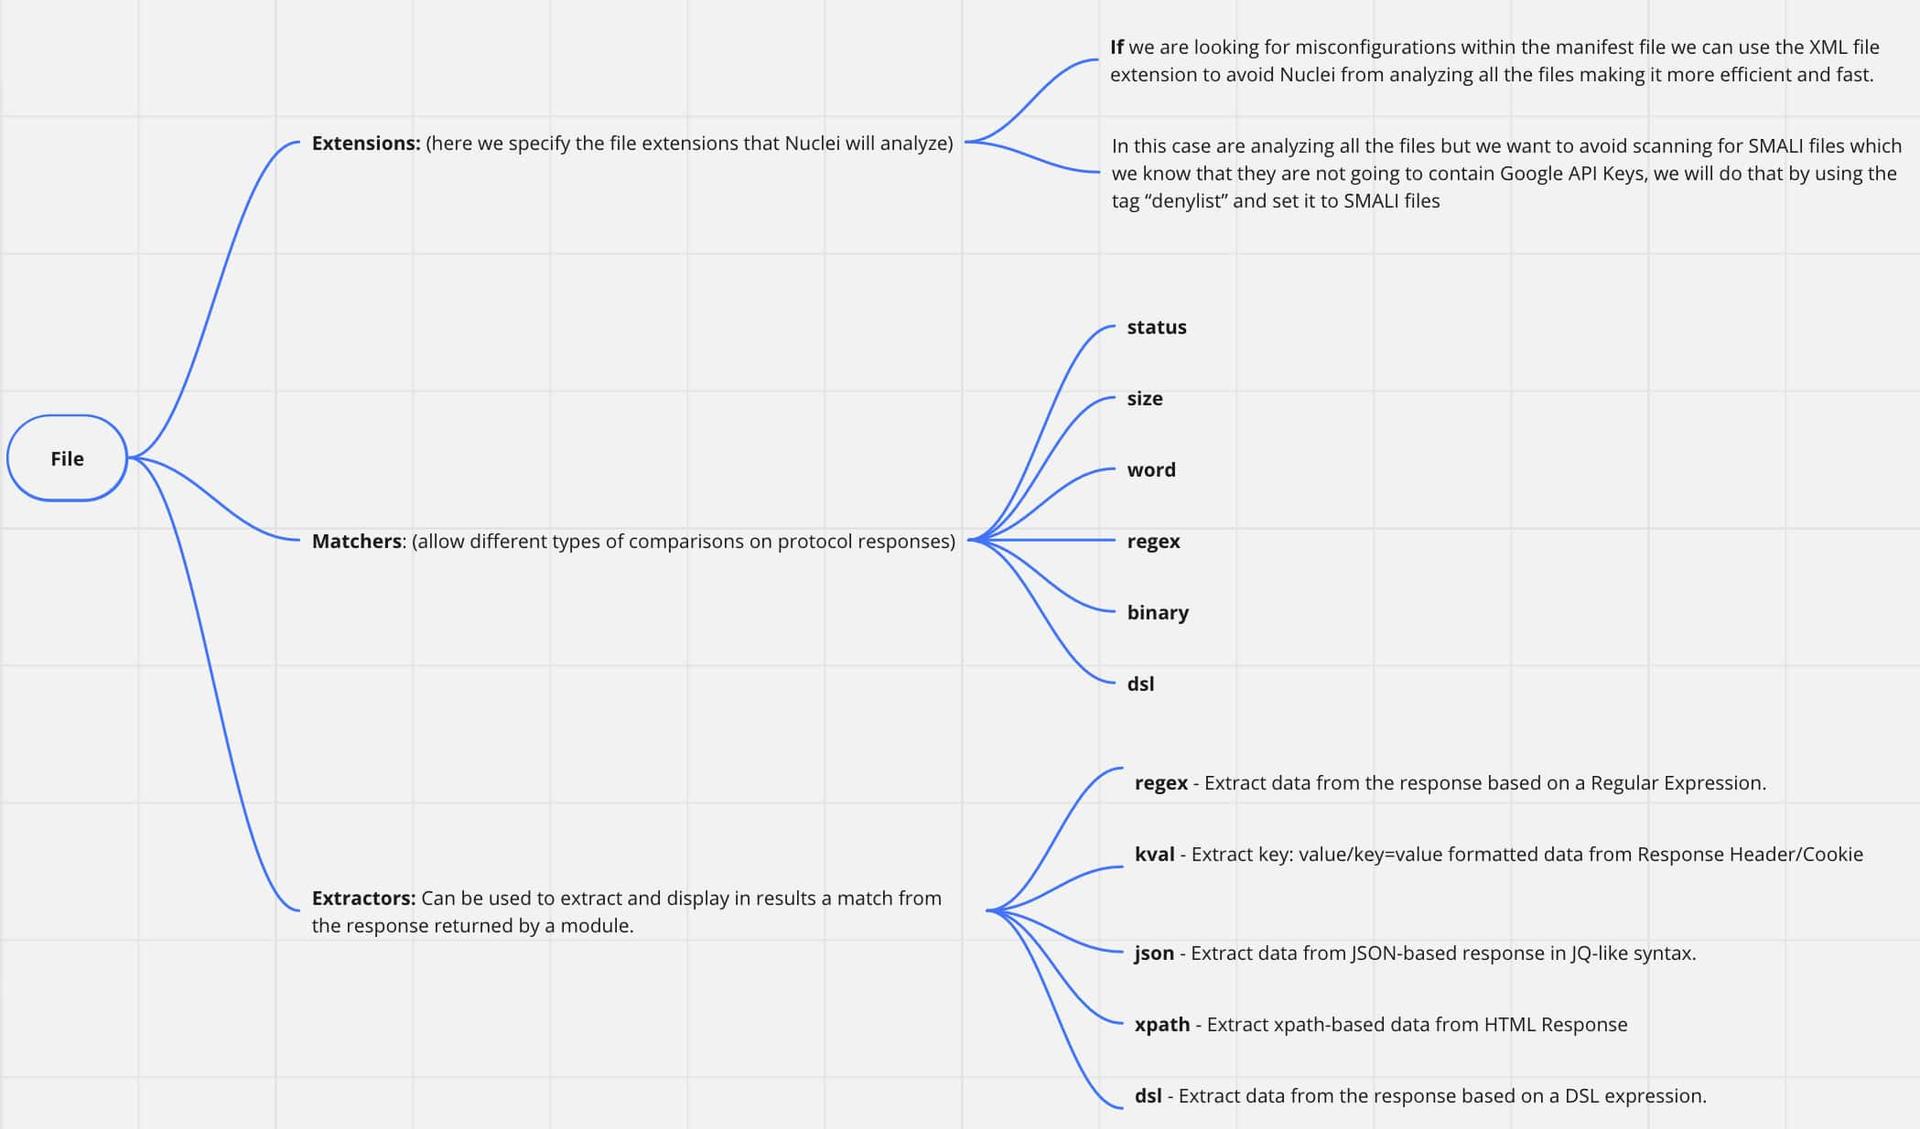
Here we can observe multiple information about the template:
-
id: is the id given to the template which we will use later to call it from Nuclei when we execute the tool for analyzing the APK
-
info: is the information about the author of the template and the vulnerability to be found like name of the vulnerability, author, severity, etc.
-
file: here is the technical information about the template.We did this conceptual map to help you understand all the information related to Nuclei declaration.
Creating a Nuclei Template
Now, we will create a NetworkSecurityConfig template for Android and an NSAppTransportSecurity template for iOS, because they are similar examples and easy to understand.
Creating Nuclei Template (Android)
So let's create our first Nuclei Template, in this case, we will create a template to look for insecure Network Security Configurations within the Android application's code.
-
We will set the template id, in this case, "network-security-config"
-
We will set the general information:
name: Insecure Network Security Config
author: sagu
severity: Medium- We will set the files we want to analyze,
extensions:
- xml- Then we will set the extractor type and regex to find three different insecure Network Security Configurations:
a. The first one is the explicit use of user or system certificates within the application.
b. The second one is the explicit use of clear text communications.
c. The third one is the specification of each domain with clear text enabled.
- We will set 3 extractors to find these insecure implementations within the applications code.
extractors:
- type: regex
regex:
- "<certificates src=\"(user|system)\""
- "cleartextTrafficPermitted=\"true\""
- "<domain includeSubdomains=\"(false|true)\">\\s*([^<\\s]+)\\s*</domain>"
The template should look like this:
id: network-security-config

info:
name: Insecure Network Security Config
author: sagu
severity: Medium

file:
- extensions:
- xml

extractors:
- type: regex
regex:
- "<certificates src=\"(user|system)\""
- "cleartextTrafficPermitted=\"true\""
- "<domain includeSubdomains=\"(false|true)\">\\s*([^<\\s]+)\\s*</domain>"
Finally, we save the file with the .yaml extension and we are ready to execute it :)
Creating Nuclei Template (iOS)
For the iOS case we will create a template to look for insecure NSAppTransportSecurity settings within the iOS application’s code, the NSAppTransportSecurity could be compared with the NetworkSecurityConfig file in an Android application as we already mentioned.
- We will set the template id, in this case, "ios-app-transport-security-check"
2.We will set the general information:
name: iOS App Transport Security Configuration Check
author: bana
severity: Medium- We will set the files we want to analyze,
extensions:
- xml- Then we will set the extractor type and regex to find four different insecure NSAppTransportSecurity settings:
a. The first one is the explicit use of insecure HTTP Loads within the application.
b. The second one explicitly allows arbitrary loads.
c. The third one is the specification of each domain that has clear text enabled.
d. The fourth one is the inclusion of the subdomains
Note: The main difference between the Android and the iOS templates is that in the iOS case, the XML is formatted using multiple-line nested XML format for these configurations, so in this case we will be searching for the keywords that give us the hint that a insecure setting could potentially been implemented, later the confirmation of the vulnerability must be performed manually or implementing some additional checks using python scripting or your preferred language.
- We will set up three extractors to find these insecure implementations within the application code.
extractors:
- type: regex
regex:
- "NSExceptionAllowsInsecureHTTPLoads"
- "NSAllowsArbitraryLoads"
- "NSIncludesSubdomains"
- "NSExceptionDomains"
The template should look like this:
id: ios-app-transport-security-check

info:
name: iOS App Transport Security Configuration Check
author: bana
severity: Medium
description: Check Info.plist for insecure NSAppTransportSecurity settings

file:
- extensions:
- xml

extractors:
- type: regex
regex:
- "NSExceptionAllowsInsecureHTTPLoads"
- "NSAllowsArbitraryLoads"
- "NSIncludesSubdomains"
- "NSExceptionDomains"
Finally, we save the file with the .yaml extension and we are ready to execute it :)
Finding the Vulnerability with Nuclei (Android)
Now we have everything ready to find vulnerabilities with Nuclei, so let's start! For the Android case, we will use the Challenge_3.apk application but if you want to analyze an application downloaded from the PlayStore you can follow the steps mentioned in the Obtaining the APK from the device (Android) section.
- We need to disassemble the APK file, we are going to do this with APKTool (if it’s your first time using apktool check this publication: Introduction to Smali):
apktool d apk_name.apk -o apk_name_dissassambled
- Now that we have the folder containing all the files of the application we can run Nuclei to find the vulnerability
echo application | nuclei -t /<path-to-template-folder>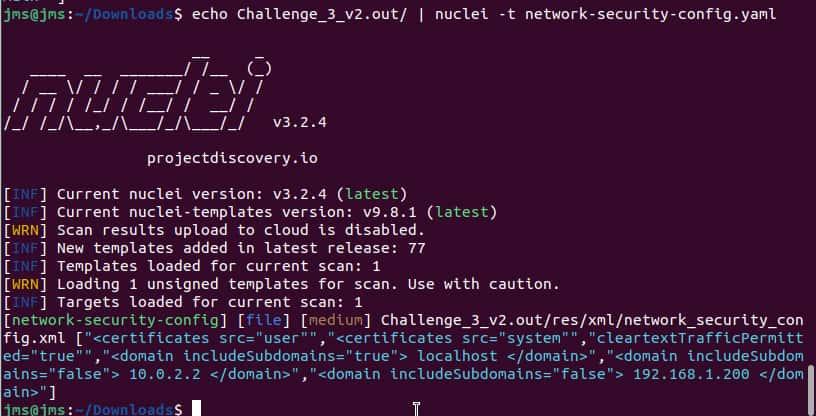
Finding the vulnerability with Nuclei (iOS)
For the iOS case, we will use the Challenge_1_Nuclei.ipa application but if you want to analyze an application downloaded from the AppStore you can follow the steps mentioned in the Obtaining the IPA from the device (iOS) section.
- Convert the .ipa file into .zip file
mv application.ipa application.zip- Unzip it
unzip application.zip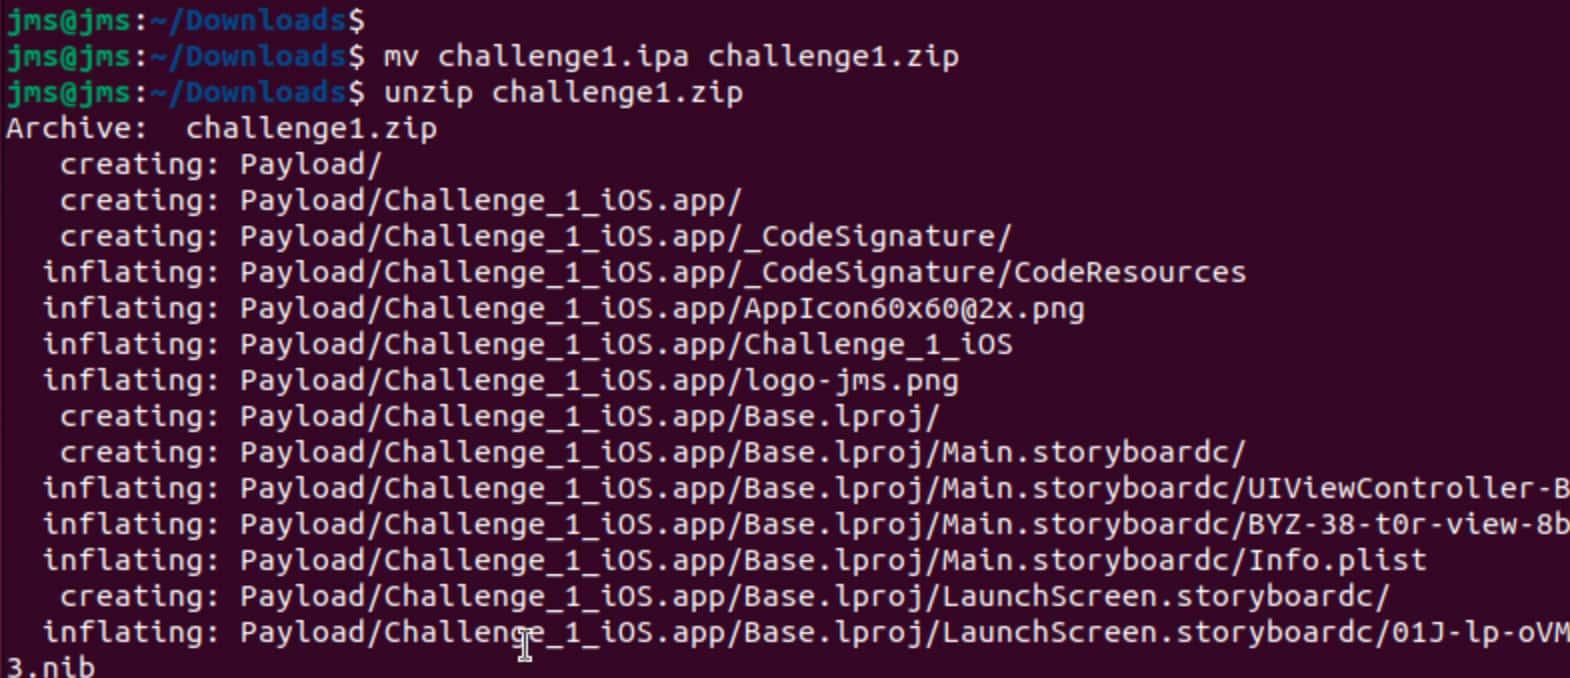
- Convert all .plist files from "ApplicationName"
plutil -convert xml1 Info.plist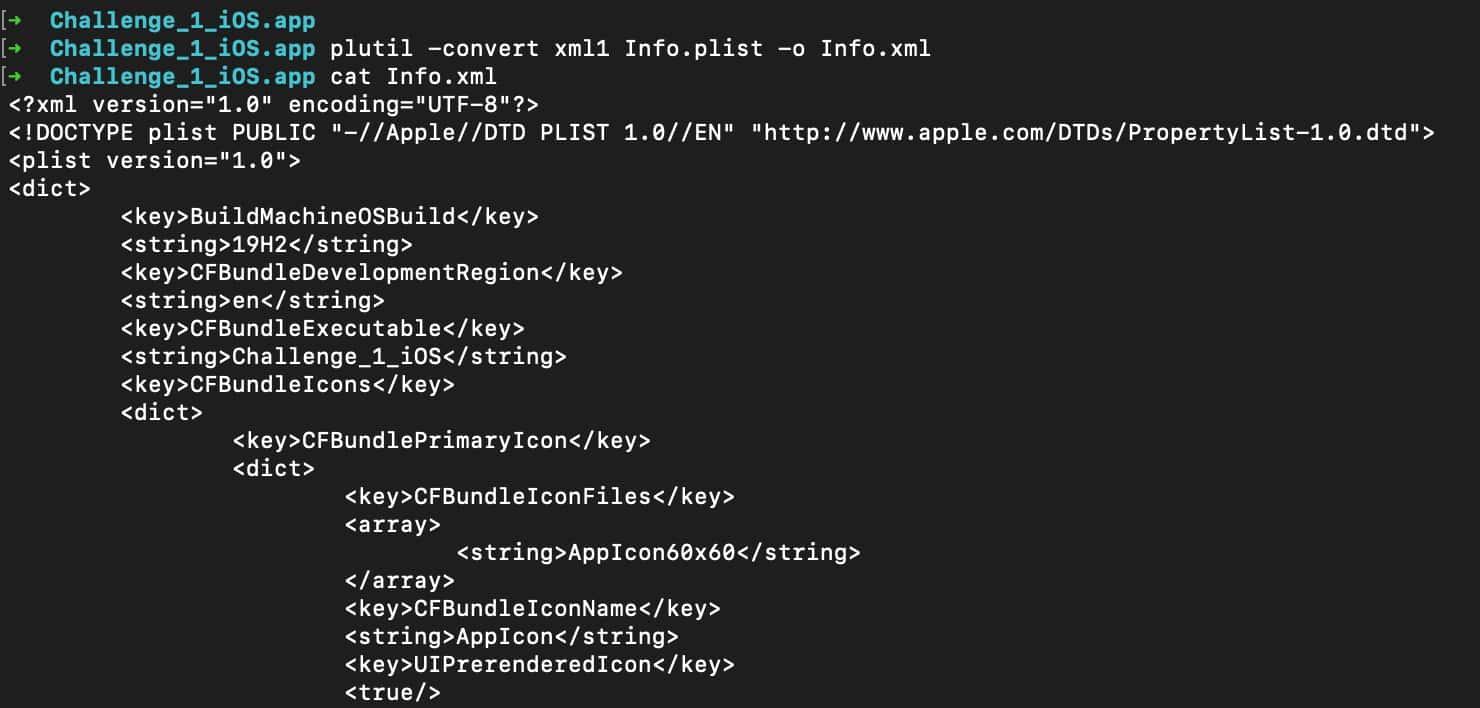
At this point, the idea is to walk all the folders looking for *.plist files and convert them to .xml files.
- Now that we have the folder containing all the files of the application we can run Nuclei to find the vulnerability
echo Payload | nuclei -t /<path-to-template-folder>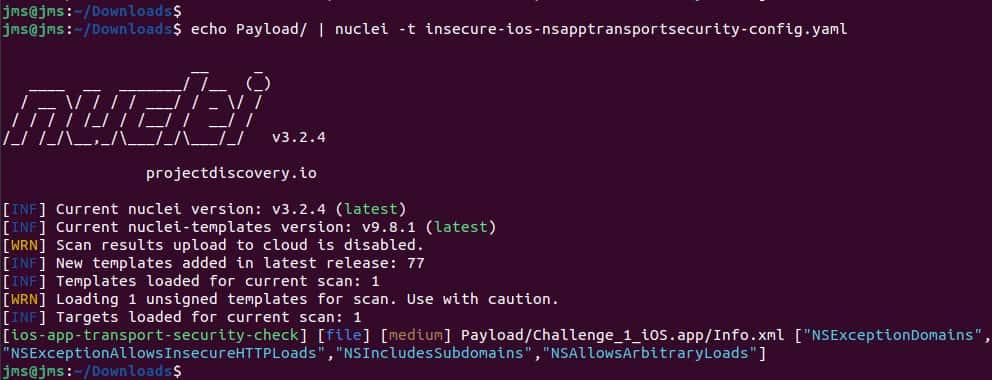
Final Conclusions
The Nuclei tool is really powerful in helping us to analyze Android and iOS apps.This guide shows just how user - friendly and effective Nuclei is at finding vulnerabilities.
We hope you see this post as a good practice to start creating your templates to maintain your applications secure or to make templates for automating the analysis of your applications!
Stay tuned on Just Mobile Security — Medium and Just Mobile Security — Blog
If this post was useful for you, share it!
Don't forget to follow us!
Just Mobile Security | LinkedIn
Juan Urbano Stordeur(@juanurss) / Twitter
Juan Urbano Stordeur Founder & CEO of Just Mobile Security
Juan Martinez Blanco Security Consultant of Just Mobile Security